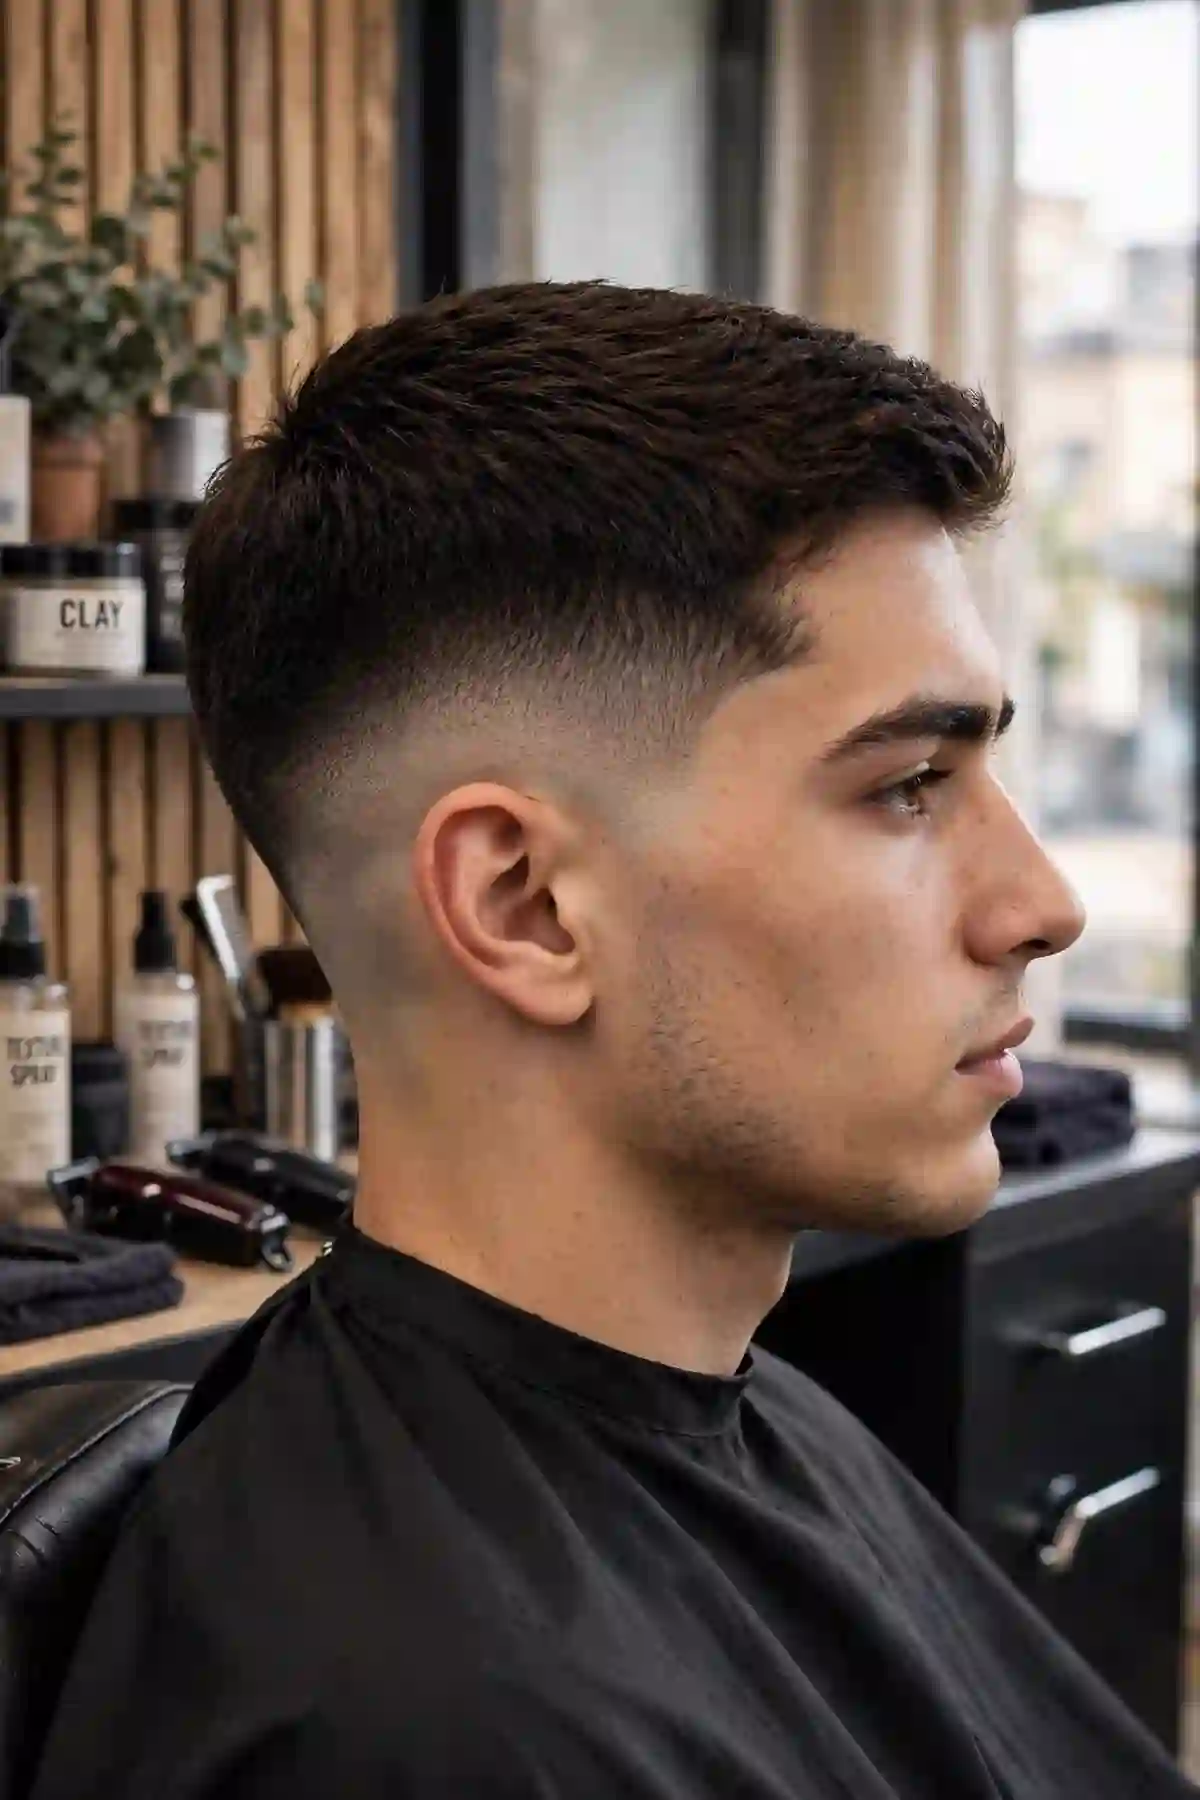
Of all the ways to wear a mid taper fade, the textured fringe is the one men ask about most — and the one barbers explain least. The sides are the mid taper you already know. The difference is on top: instead of brushing the front up or back, the hair is cut to fall forward over the forehead, and the ends are point-cut into rough, piecey texture so the fringe looks broken-up and natural instead of like a straight line drawn across your head.
This guide covers what a textured fringe actually is, why it works so well with a mid taper fade, who it suits (and who should skip it), the exact words to ask for at the chair, and a two-minute styling routine that keeps it looking like the photo.
If you want the neat sides of a taper fade but a top with some attitude — and a fringe that hides a forehead instead of advertising it — this is the version to ask for.
A fringe is simply hair worn forward, falling over the forehead. Fringes have been around forever; what makes this one different is the word textured.
A blunt fringe is cut straight across and hangs as one solid piece — the look most men are afraid of, because on an adult it can read as a schoolboy cut or a bowl cut. A textured fringe is cut the opposite way: the barber uses point cutting (snipping into the ends at an angle) and often a razor or thinning technique on the top layer, so the front edge comes out uneven on purpose. The fringe breaks into separate pieces with gaps between them, lengths vary slightly strand to strand, and the whole thing looks grown rather than drawn.
Three details define it:
The pairing works because the two halves do opposite jobs.
The mid taper fade is all control: a clean, even blend, tidy edges, nothing out of place around the ears and neckline. The textured fringe is all looseness: forward, broken-up, slightly messy. Put them together and each half makes the other look better — the neat sides stop the fringe looking scruffy, and the loose fringe stops the taper looking plain.
There is a practical reason too. A fringe needs weight and length at the front, and a mid taper fade preserves exactly that: because the blend starts at mid height and only cleans the edges, the top keeps its full length and thickness to fall forward. A high fade or a skin fade can starve a fringe by taking the sides so short that the top looks disconnected. The mid taper is the fade height that leaves a fringe properly fed.
The full breakdown of the sides is in the complete mid taper fade guide, and the step-by-step of how the taper itself is cut is in how to do a mid taper fade.
Shape-by-shape detail, with the top style and guards for each face, is in best mid taper fade for your face shape.
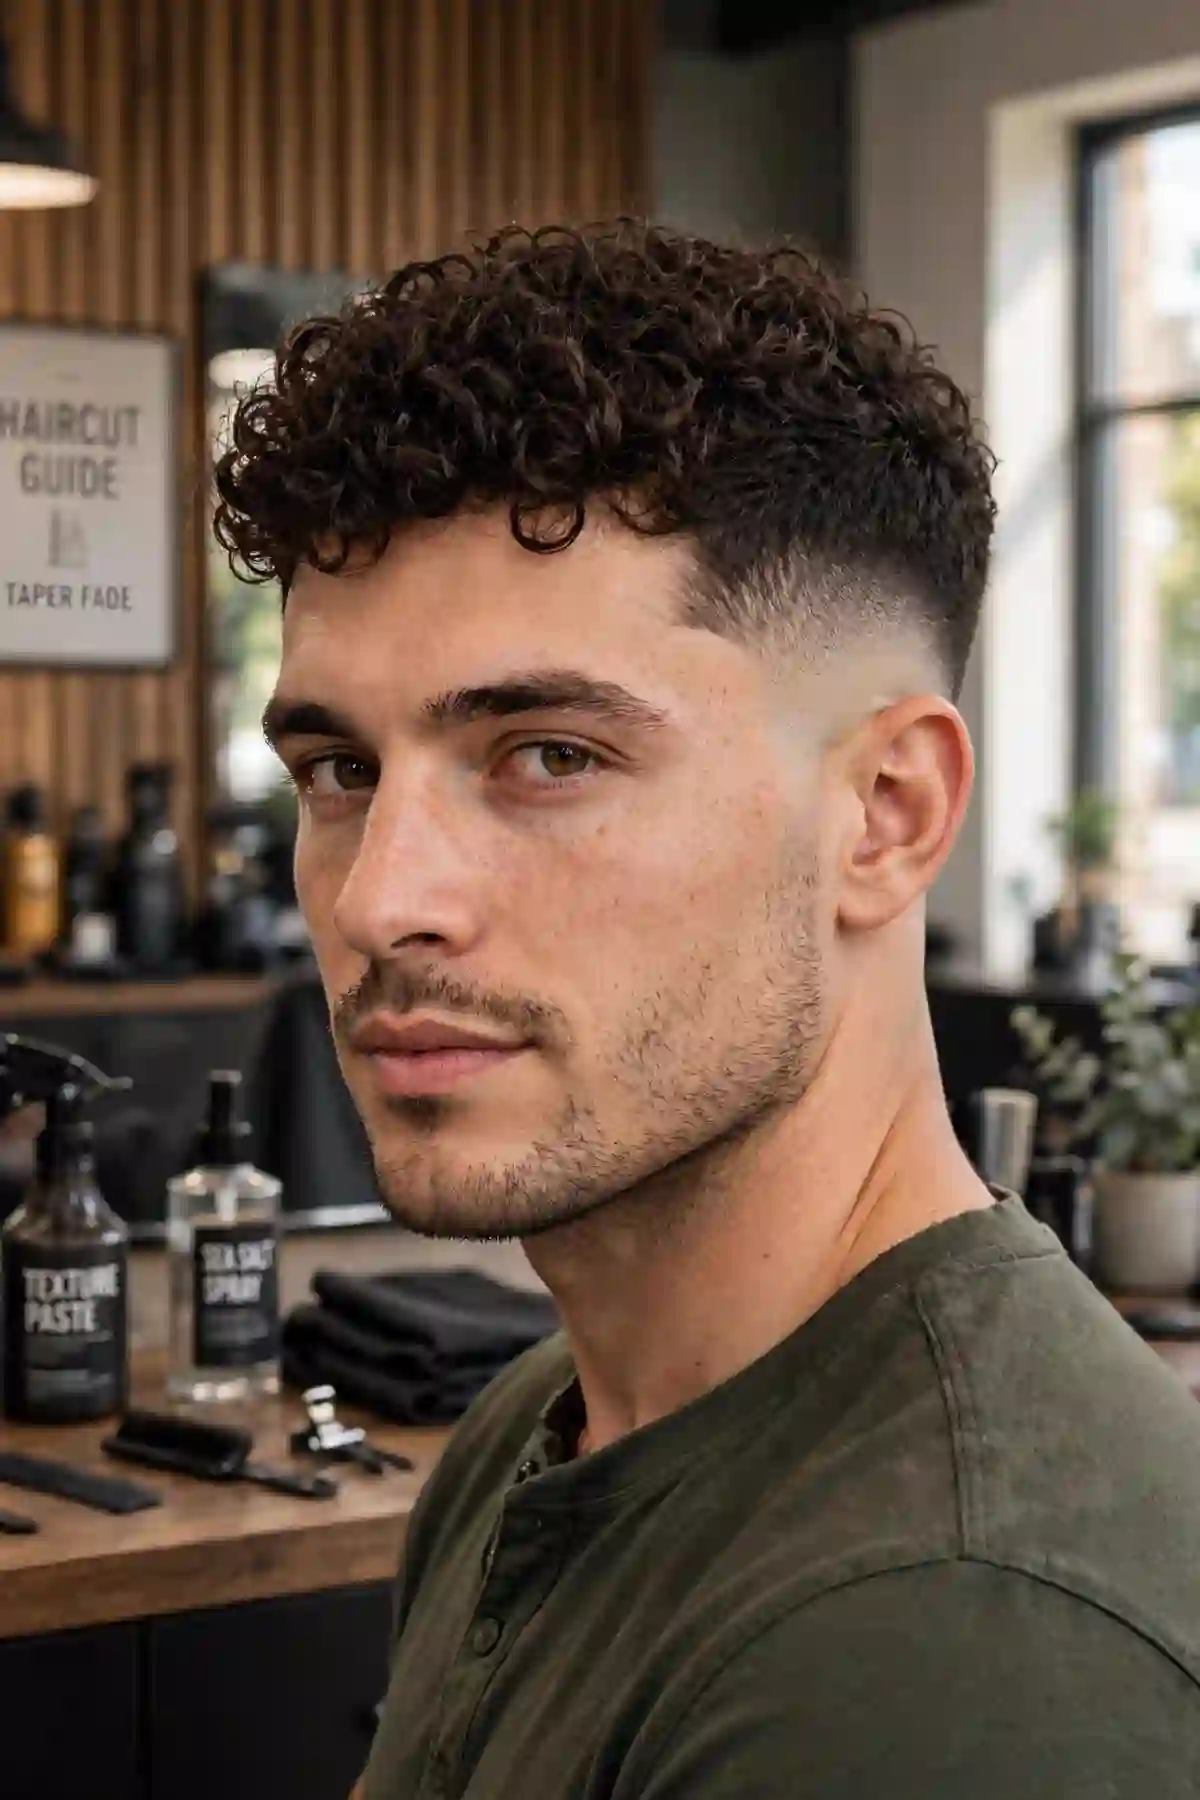
Thin hair is where this cut is won or lost, so it gets its own rules:
Men with a strong front cowlick (the fringe will fight to split or lift every morning), men who will not spend even two minutes on styling (an unstyled fringe just looks like uncut hair), and anyone whose workplace demands a fully exposed forehead or a formal side part. For those, the same mid taper fade with a side part or a short quiff is the better version.
Knowing the steps helps you spot a barber who is guessing.
| Part | Length |
|---|---|
| Top | 2–3 inches (5–7.5 cm) |
| Front fringe | Around 1.5–2.5 inches (4–6.5 cm) |
| Shortest taper area | #1 or #1.5 guard, depending on preference |
| Upper sides | Blended into the longer top |
These numbers are starting points, not rules — your barber adjusts them for your head shape, your hair density and how much forehead you want covered. One adjustment to treat seriously: curly hair needs extra length, because curls spring up and shrink as they dry, so a fringe cut to the target length while wet will sit noticeably shorter once it is dry.
"I want a mid taper fade with a textured fringe. The blend starts at the temple — a number 1 at the bottom, up through a 2 and a 3. On top, leave two to three inches and cut it to fall forward. The fringe should land just above my eyebrows, and I want it point-cut and piecey, not a straight line. Keep the front corners soft — no hard edges. Here is a photo."
Adjust the script for your hair:
Three things to say out loud, because each one changes the cut:
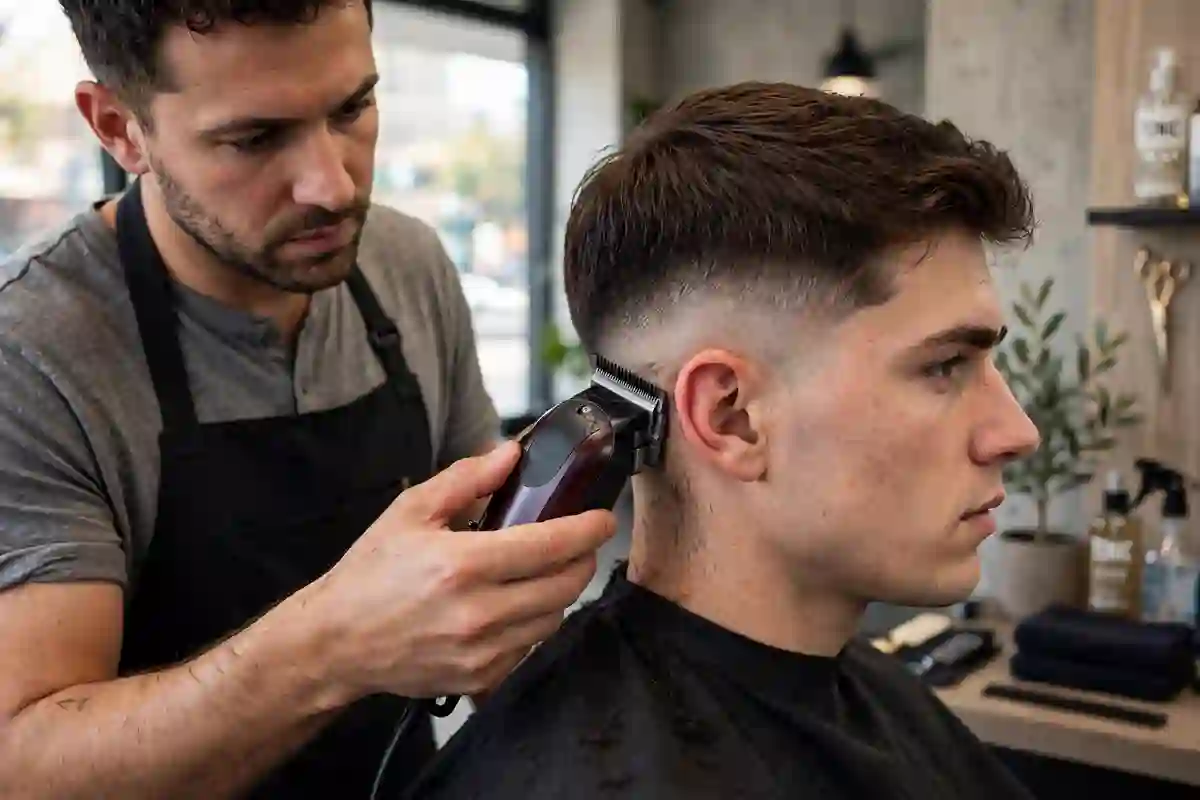
A textured fringe is styled in the drying, not in the product. Get the direction right while the hair is wet and the rest is easy.
Then stop. A textured fringe is supposed to look a little undone — the moment it looks perfect, you have over-styled it.
Product guide: matte clay or fibre paste for straight and thick hair; sea-salt spray (on its own, or under a light paste) for wavy hair; a light cream for curly fringes, which need moisture more than hold. Avoid wet-look gel entirely — it glues the pieces into strings and undoes the texture you paid for.
The fringe is the first part of this cut to announce itself. Hair grows about half an inch a month, and a fringe has nowhere to hide: within three to four weeks the front is touching or passing the eyebrows, and the piecey edge has grown into a heavier curtain.
The good news is that this cut has the cheapest upkeep of any mid taper version:
Week by week:
| Part | Touch-up |
|---|---|
| Fringe | Every 3–4 weeks |
| Top texture | Every 4–6 weeks |
| Mid taper | Every 3–4 weeks |
| Full haircut | Every 4–6 weeks |
The full timeline for the taper underneath is in how long a mid taper fade lasts.
These are sample scenarios based on common requests, not real clients.
Leo, 19, straight thick hair, student. He had worn a quiff for years and was tired of styling it up every morning. He switched to a mid taper fade with a textured fringe at eyebrow length. His routine dropped to two minutes, and the fringe covered the forehead he had always been self-conscious about.
Sam, 33, wavy hair, early receding corners. Every brushed-back style advertised his hairline. His barber kept the front at three inches, cut it forward with heavy point cutting, and left the corners un-edged. The fringe lies over the corners; from the front, his hairline reads years younger — with no product trickery, just direction.
Ben, 27, fine hair, office job. His first fringe was over-textured and looked wispy within a week. On the second cut the barber used light texture only, kept the fringe a little shorter, and Ben switched to a matte fibre for the piecey look instead of cutting for it. Same cut on paper — completely different result.
The fringe looks like a bowl cut. The edge was cut too blunt or the fringe is too long and untextured. The fix is at the barber's, not in your bathroom: ask for point cutting into the edge and a little length off. Product cannot break up a straight line.
The fringe splits in the middle. Usually a front cowlick or hair dried in the wrong direction. Blow-dry forward every morning for a week — you are retraining the growth direction — and dry the split area first, pushing it across the split before it sets.
The fringe looks stringy by midday. Too much product, or a shiny one. Halve the amount, switch to matte, and apply to fully dry hair — product on damp hair clumps the pieces together.
It puffs up and will not lie forward. The top layer is too thick or too long at the front. The barber can remove weight from underneath the fringe (never from the visible surface) so it lies flatter.
The fringe is in your eyes after two weeks. It was cut at the longest end of the range. Ask for it a quarter-inch shorter next time — on a fringe, a quarter inch is two extra weeks.
For most men, the front should land between the hairline and just above the eyebrows, which usually means two to three inches of length at the front. Longer (touching the eyebrows) looks moodier and covers more forehead; shorter starts to become a French crop. If in doubt, start longer — length can come off at the same visit, but it cannot go back on.
They are close cousins. A French crop is short all over — the fringe is brief, often an inch or less, and the top is cropped tight. A textured fringe keeps more length: the top is longer, the fringe reaches toward the eyebrows, and the texture is looser and more broken-up. Think of the crop as the short version and the fringe as the grown-out, softer version of the same idea.
It is one of the best tops for a receding hairline. The hair falls forward over the corners instead of exposing them, and the piecey edge hides the hairline's exact shape. The rules: keep the front long, keep the corners soft and un-edged, and never pair it with very short sides, which would put the contrast back on display. Why the mid height matters is covered in fade vs taper.
Yes, at the tidier end of its range. Cut just above the eyebrows, kept piecey but not messy, a textured fringe with a mid taper fade reads as a neat, modern haircut — it is worn by plenty of office workers. The very long, heavy versions are the ones that read casual.
With adjustments, yes. The texture must be light — heavy point cutting removes weight thin hair cannot spare — and the piecey look should come from a matte product rather than from the scissors. Keep the fringe slightly shorter than standard. If the hair is very thin on top, a short crop may honestly serve you better.
A matte clay or fibre paste for most hair types — strong enough to separate the pieces, with no shine. Wavy hair often needs only a sea-salt spray. Whatever you use, the amount is a pea size, applied to dry hair. Wet-look gel is the one product to avoid: it strings the fringe together and kills the texture.
The front edge wants attention every three to four weeks — it grows toward your eyes faster than any other part of the cut, so book a quick front-only tidy sooner if it reaches them before the month is out. Many men book that quick fringe trim between full cuts and have the taper rebuilt every four weeks.
Yes — it is a natural pairing. The fringe keeps the top soft and forward while the beard adds weight at the bottom, and the mid taper blends the sideburns into the beard so the two meet without a hard line. Keep the beard's top edge tidy so the overall shape stays deliberate.
A mid taper fade with a textured fringe is the version of the cut with the most personality per minute of effort: the sides stay as neat as any taper fade, while the forward, point-cut fringe covers foreheads and hairlines, shortens long faces, and styles in two minutes with a pea of matte clay. Ask for the blend at mid height, the front long and point-cut — never blunt — and dry it forward every morning. That is the whole secret.
Start with the script above, a photo of the fringe length you want, and one instruction said out loud before the clippers start: "Forward, and piecey." Your barber will know exactly what to do.
← Back to the complete guide: Mid Taper Fade — styles, guard numbers & barber tips
Also see: Mid taper fade guard numbers — what 0.5, 1, 2 and 3 really look like. Best mid taper fade for your face shape — the shape-by-shape guide. How to do a mid taper fade — the cut, step by step. And Mid taper fade vs burst fade — the head-to-head comparison.